-
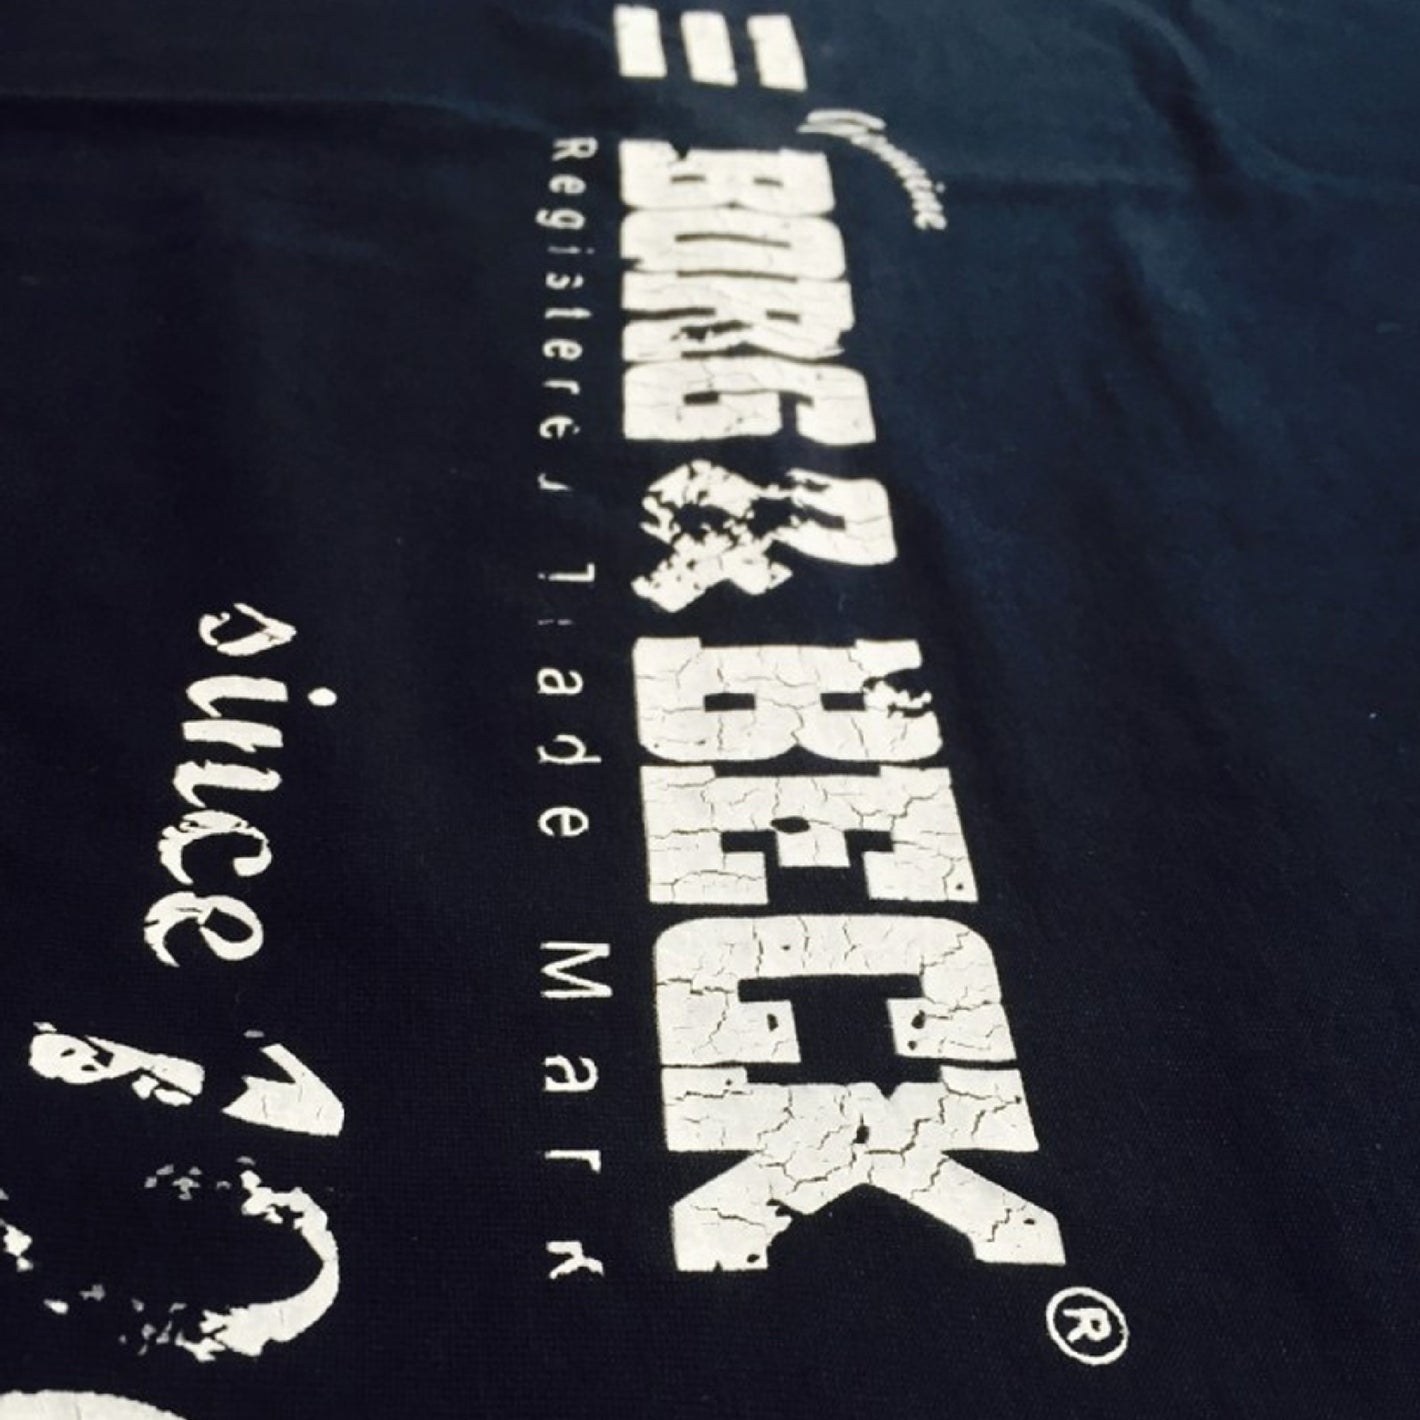
Crackle Effect
Printing method that combines high density ink with additives to create the unique texture & appearance of cracked stone onto garments
-
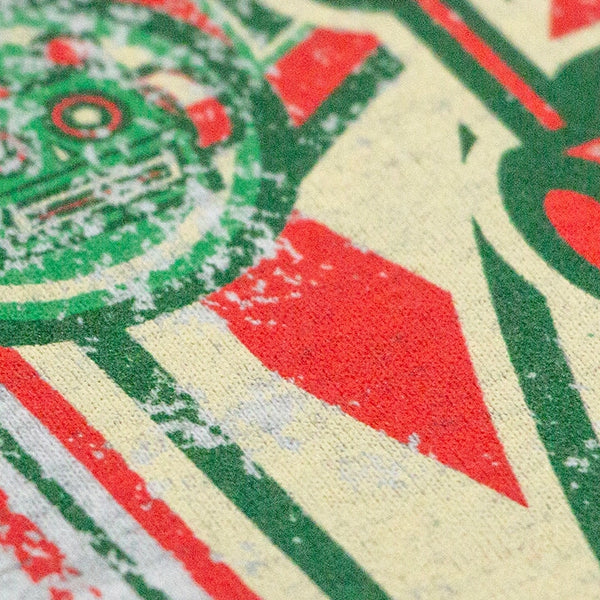
Discharge Ink
Water based process that removes the dye of the shirt & replaces it with a color. Soft & good for printing over seams. Must be 100% Cotton
-
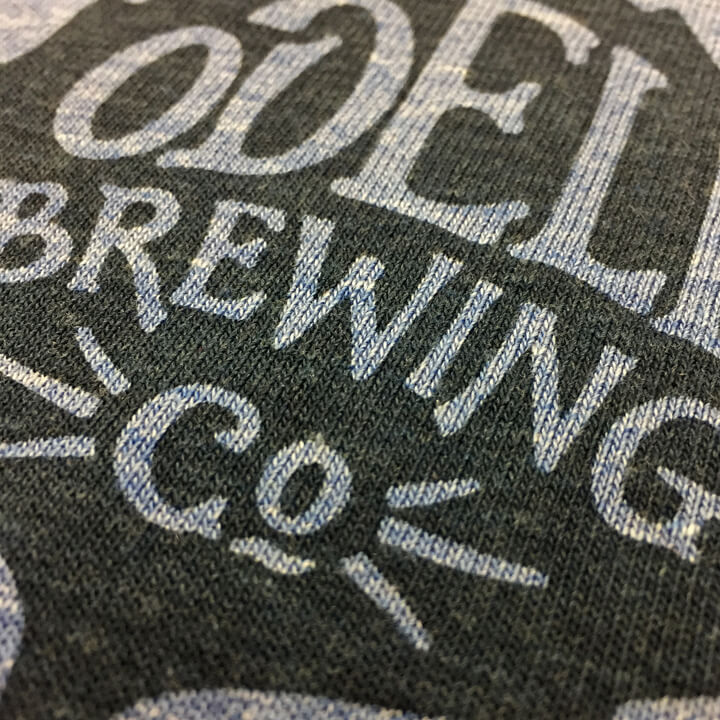
Fashion Soft
Ink thinning additive that creates a subdued, softer print on garments. Lightweight & great for vintage style prints or designs on heather apparel
-
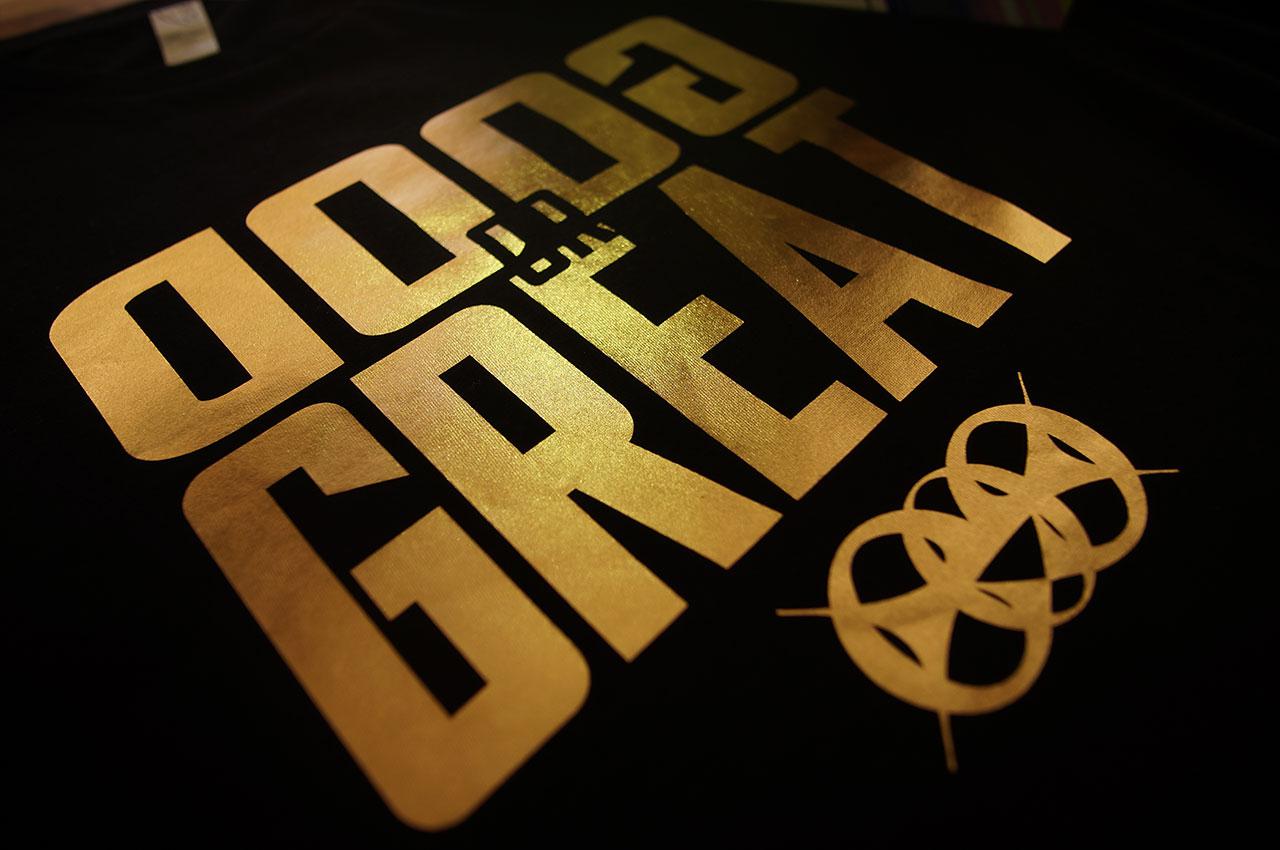
Foil Effect
Super shiny metallic film that is heat applied to a design after printing. Gives a bright, highly reflective surface appearance
-

Glow-In-Dark
Creates an intense, phosphorescent, glow in the dark effect. After charging in light this ink will glow back a soft green color in the darkness
-
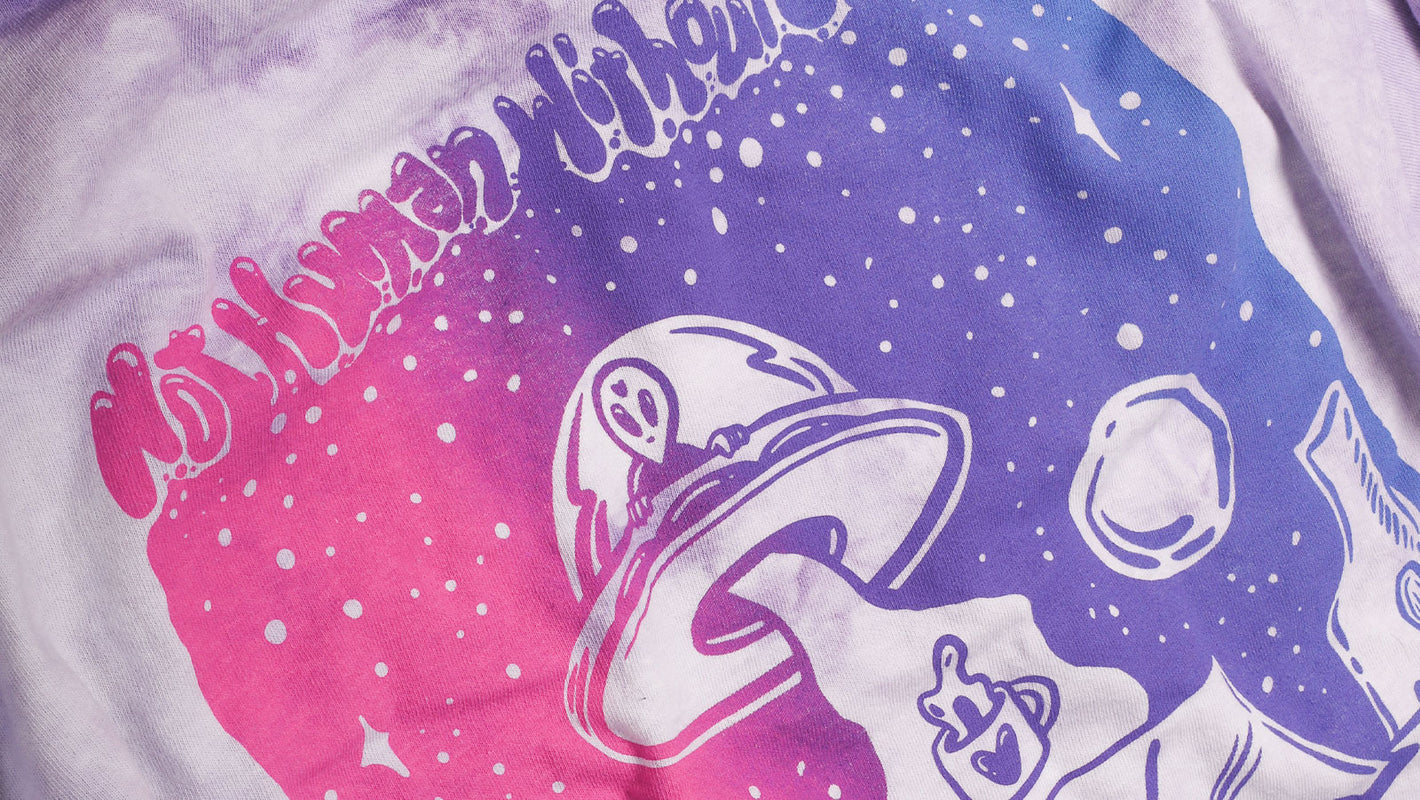
Gradient
Creates smooth, gradual transitions of color from one shade to another on a surface
-
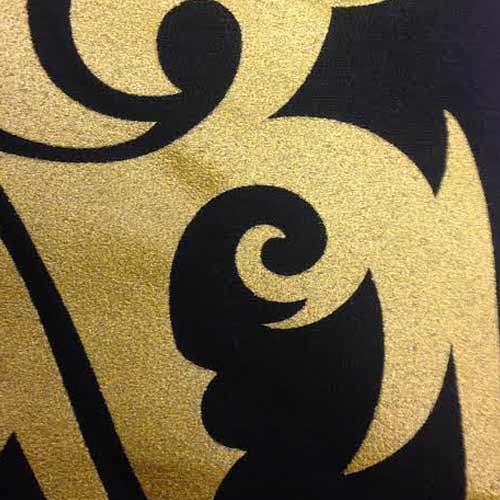
Metallic Ink
Plastisol ink containing tiny metallic flakes. Creates an eye catching, shimmery finish when fully printed. Available in metallic gold & silver
-

Neon Ink
Fluorescent inks that will react brightly underneath a blacklight. Adds a pop of intensity & fun to any design for both kids or adults
-
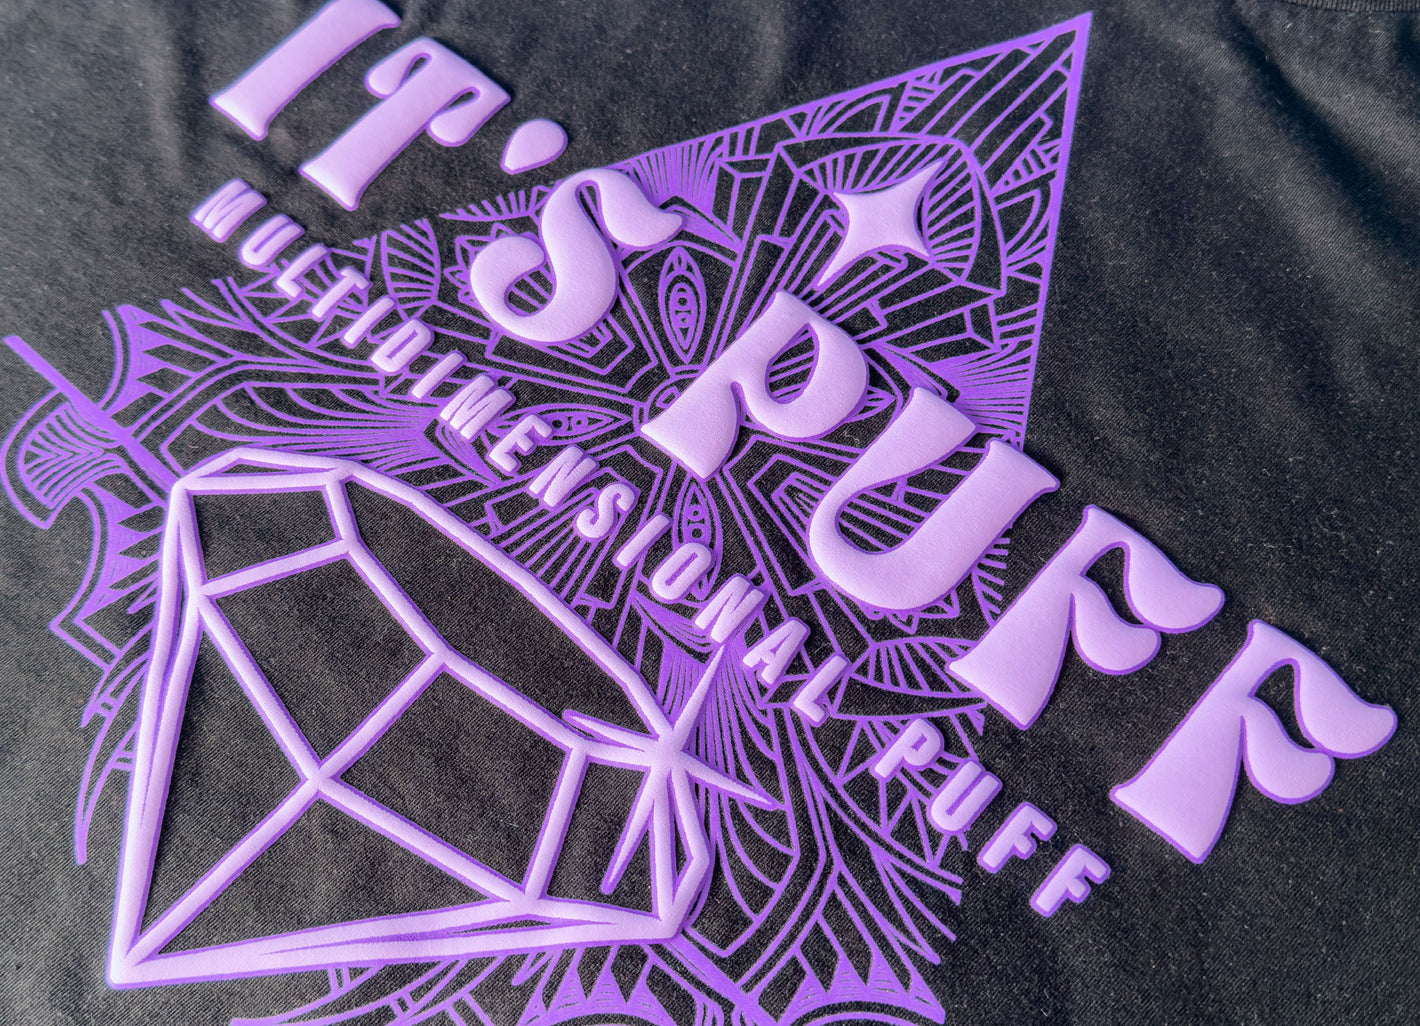
Puff Ink
An additive that causes ink to rise up. Gives a raised, foamy and puffy feel when heat cured. Fantastic way to produce eye-catching 3D texture
-
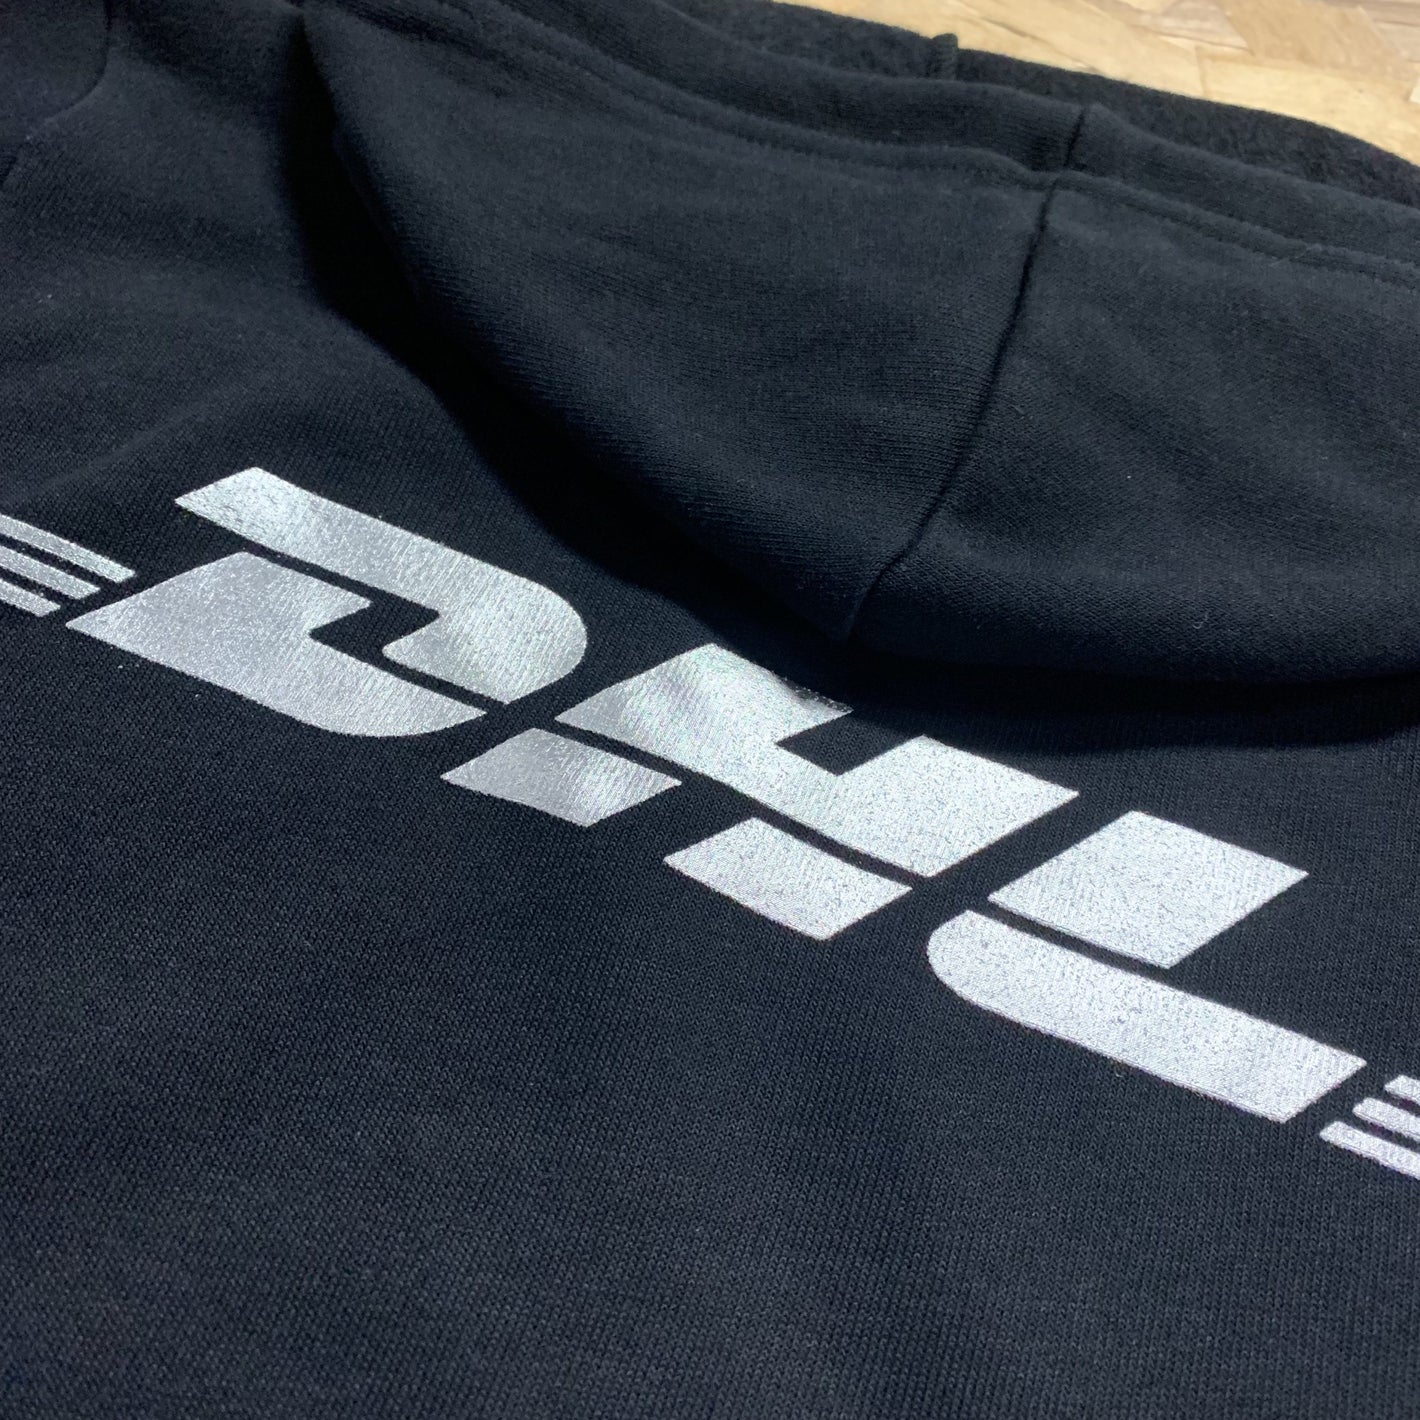
Reflective Ink
Heat transfer material that brightly reflects vehicle headlights. Ideal for emergency workers, crews or anyone looking for hi-visibility apparel
-
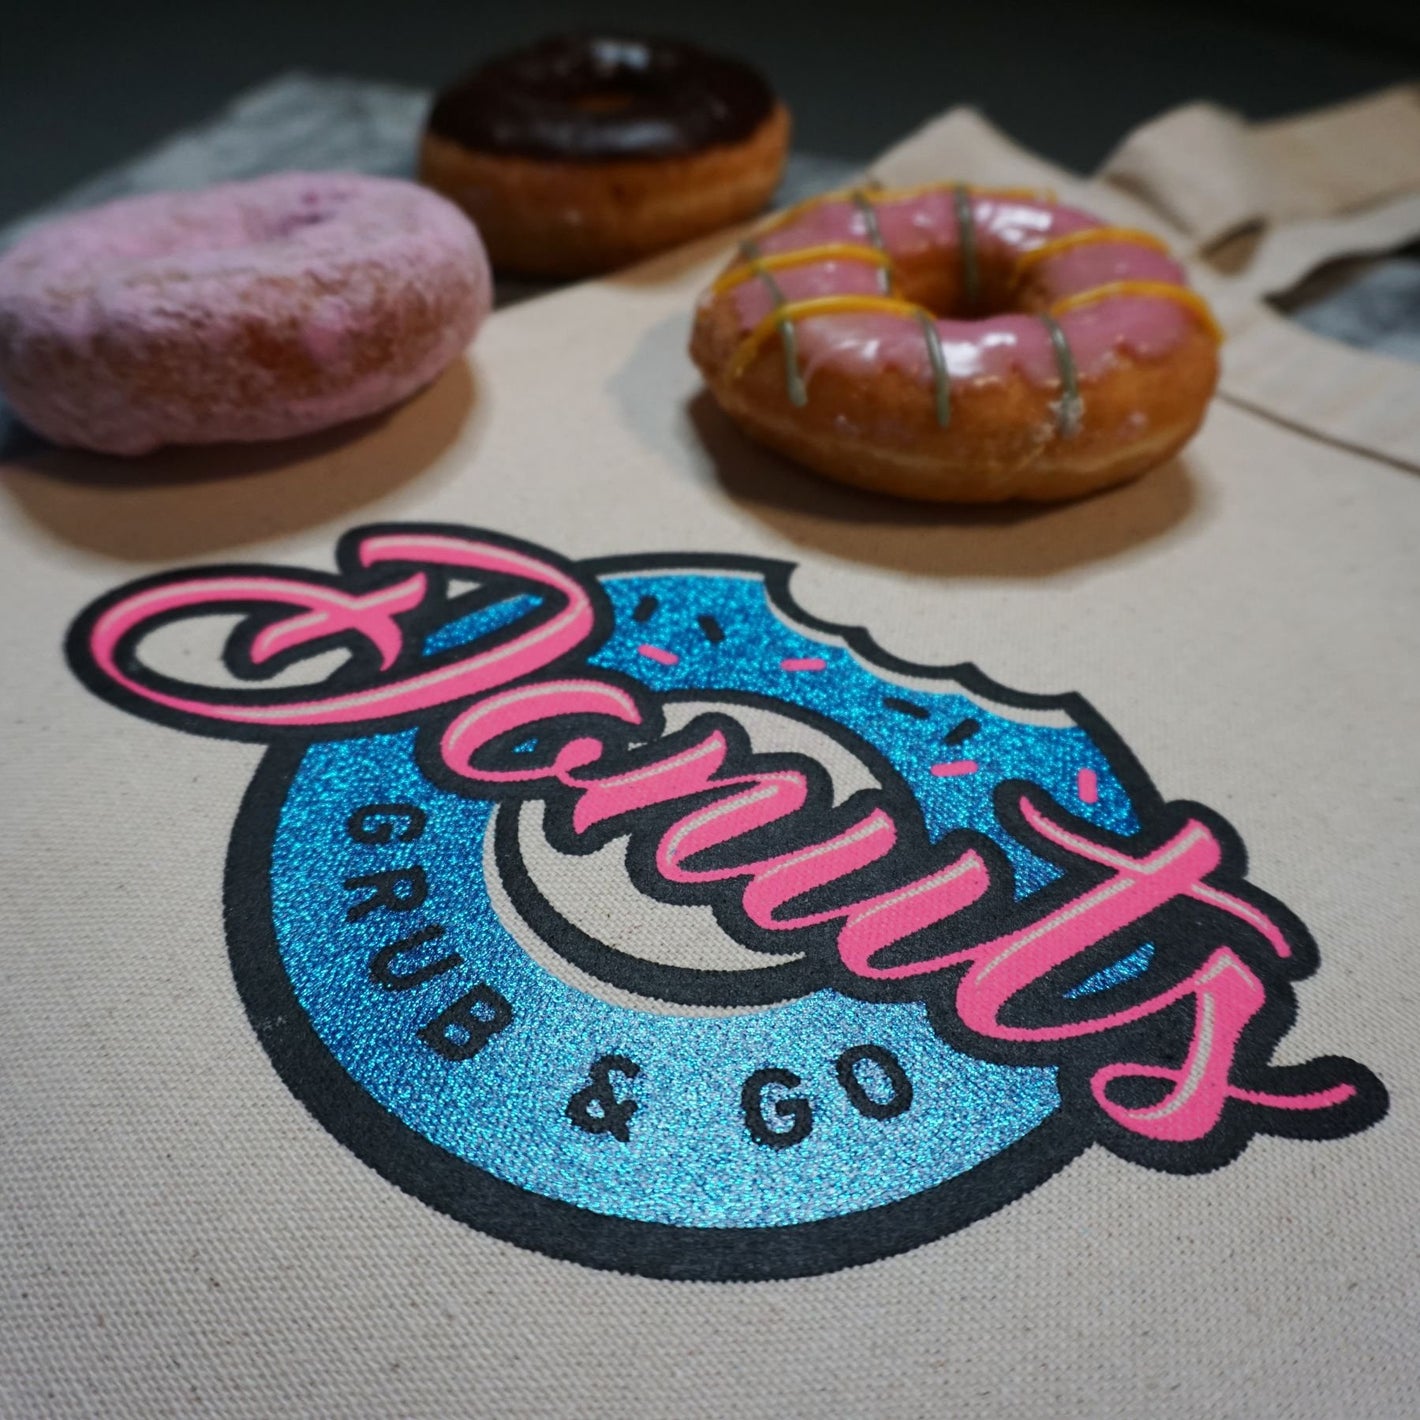
Gloss Glitter
Apply a layer of ink containing fine glitter particles and shimmering effect that catches and reflects light, creating a visually appealing and eye-catching design with a glossy, glittery appearance
-
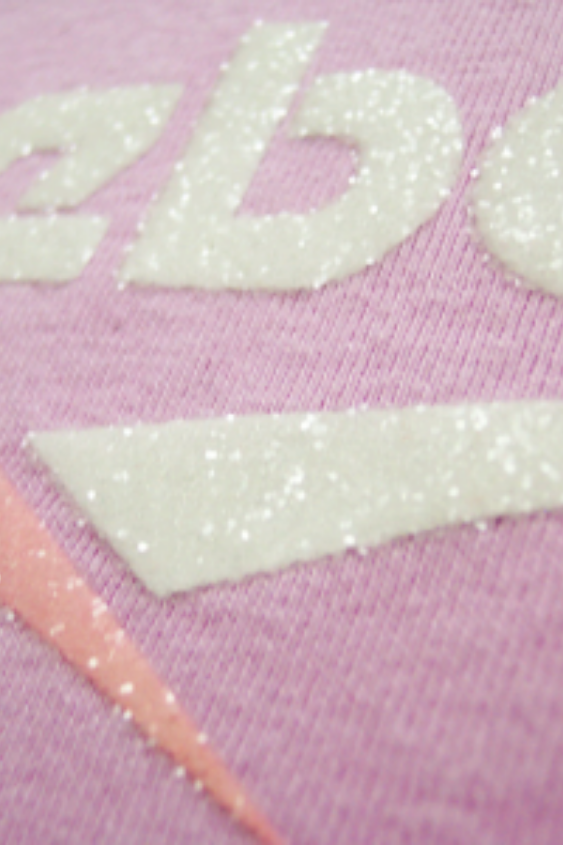
Sugar Glitter
Fine clear glitter particles that are sprinkled on top of the print. Gives a very sparkly, sugar-dusted look to part of or the entire design


Screen Print Process
Screen printing, also known as silk screen printing or serigraphy, is a versatile and widely-used printing technique that involves transferring ink onto a substrate (usually paper, fabric, glass, metal, or plastic) through a mesh screen. This method allows for the creation of intricate and vibrant designs with consistent color quality, making it popular for producing a wide range of products such as apparel, posters, signage, labels, and more. Here's a detailed description of the screen printing process:
1. Design Preparation: The process begins with creating or preparing the design to be printed. This can involve creating a digital design using software like Adobe Illustrator or Photoshop, or hand-drawing the design on a transparent medium. Each color in the design will require a separate screen, so the design is broken down into its individual color components.
2. Screen Preparation: For each color in the design, a separate screen is created. A screen consists of a fine mesh stretched tightly over a frame. The mesh is usually made from materials like polyester, nylon, or metal. The screen is coated with a light-sensitive emulsion that hardens when exposed to light.
3. Creating the Stencil: The prepared design is then transferred onto the screen using a photographic process. The screen is placed in a darkroom or exposure unit, and a positive film of the design is placed on top of it. The screen is exposed to a light source, causing the emulsion to harden everywhere except under the opaque areas of the design on the film. After exposure, the screen is washed with water, and the unexposed emulsion is removed, leaving behind a stencil of the design on the mesh.
4. Setting Up the Print Station: The screen with the stencil is then mounted onto a printing press. The substrate (such as a T-shirt or paper) is placed on the printing surface, which is usually a flat board or a rotating cylinder, depending on the type of press used. The screen is aligned precisely with the substrate to ensure accurate registration of colors.
5. Ink Application: Ink is poured onto the screen above the stencil. A squeegee is used to press the ink through the open areas of the stencil onto the substrate below. The squeegee is pulled across the screen with even pressure, forcing the ink to pass through the mesh and onto the substrate. The screen is lifted, revealing the printed design on the substrate.
6. Drying and Curing: After printing, the substrate is moved to a drying or curing station. The ink needs to dry and cure to ensure its permanence and durability. This can be achieved through air drying, heat curing using a conveyor dryer, or exposure to ultraviolet (UV) light for UV-curable inks.
7. Repeat for Each Color: If the design has multiple colors, the process is repeated for each color using a separate screen and ink. Proper registration between colors is crucial to avoid misalignment and achieve a crisp, clean design.
Screen printing offers several advantages, including the ability to print on a wide variety of substrates, produce vibrant and opaque colors, and achieve a unique textured look. However, it does require some technical skill and setup, making it more suitable for larger production runs rather than one-off prints.